Free UK delivery on orders of 12 bottles • Small-batch organic cider
19 February 2024
How to make cider
Do you have a bunch of spare apples or has your apple trees been overly generous this year? Why not turn them into cider? It’s a fantastic and easy way to make sure those apples don’t go to waste, and you end up with a delicious drink at the end.
Making cider is something anyone can dive into, no matter if you’re just starting or you’ve been at it for a while. There are plenty of ways to go about it, fitting all skill levels and interests.
Gathering Equipment
Essential Supplies
The correct cider-making equipment is vital. The first step in cider-making involves milling and pressing the apples. For this, you’ll need:
Apple Crusher or Mill: This is to break down the apples into a pulp. It’s possible to do this manually, but a specialised piece of equipment can save considerable strain and time.
Press: The milled apples need to be squeezed to extract the juice. Various types of presses exist. Some are hand-cranked, others are hydraulic.
Fermentation Vessel: Apple juice becomes cider in a fermentation vessel. These come in a multitude of sizes and materials, from glass carboys to plastic buckets.
Optional Additions
These supplies are necessary for making cider, but you can also add extra steps to make your cider taste even better.
Hydrometer: This lets you measure the sugar concentration in your juice, which in turn can give you an estimate of your finished cider’s alcohol by volume (ABV).
Temperature Control: Yeasts function best at certain temperatures. By controlling fermentation temperature, you can influence the flavour profile of your cider.
Cider Yeast: While it’s possible to use natural yeasts present on apple skins, specific cider yeasts can be bought for consistent results.
Choosing the Apples
Now that you have your cider making tools ready, it’s important to focus on choosing the right apples for making cider. Remember, the variety and quality of the apples you choose will greatly affect the flavour of the finished cider.
Picking the Right Variety
Not all apples are equal, especially when it comes to making cider. Different varieties of apples lend themselves to different flavours, sweetness levels and overall quality of cider. Here are some classic cider apple varieties:
Of course, you’re not limited to these. There’s room for exploration and experimentation. You might end up discovering a unique blend that suits your palette.
Additional Fruits and Flavours
While apples are the core ingredient in cider, that doesn’t mean you can’t experiment with other fruits and flavours. Try adding pears or cherries for a twist. You might even consider adding spices like cinnamon or clove. Just remember, balance is key and the main flavour should still prominently be apple.
Blending
There is always the option to blend apple varieties together too. Either mix the juices at the end or combine them during the pressing phase. This is an exceedingly common tactic used in cider-making and one we use frequently at Butford Organics.
Organic vs Conventional
Although we’ve mainly focused on the flavour aspect, it’s also worth considering the methods used to grow the apples. Organic and conventional farming methods can impact not only the taste of the apples but also their nutritional content.
Organic cider is free from pesticides and certain chemicals. Yet it may have a slightly different taste to conventionally cider. That said, many cider makers prefer organic apples due to their superior taste and environmental sustainability.
Preparing the Apples
When making cider, it’s essential to remember that the preparation of the apples can significantly impact the final product. We’ve broken down the process into manageable steps to help you master this art.
Washing and Cutting
The first step in preparing apples for cider making is washing and cutting. This is crucial to remove any dirt, pests, or pesticides that may linger on the apple’s skin.
Show the apple some love: give it a good wash under cool running water. Please avoid using soap or detergents as they can leave residues that may affect your cider’s taste.
With a sharp knife, carefully cut your apples into quarters or smaller. Remember, the smaller the pieces, the better the yield of juice you’ll extract.
Crushing or Pressing
Once your apples are clean and cut, it’s time to crush or press them to release their juice. This juice will ferment and turn into delicious cider.
Manual methods can be used for small-scale cider production, such as using a large wooden pole to manually crush the apples in a vessel like a bucket.
For larger volumes or more consistent results, consider investing in cider making equipment like a fruit press.
Using a Cider Mill
A cider mill makes the process of crushing apples much more manageable and efficient. It breaks down the apples into a pulp that can be easily pressed.
The milling process not only helps to extract more juice but also exposes more of the apple’s surface area to yeasts, beneficial for fermentation.
While it is a significant investment, a cider mill can be a game-changer in your cider making journey, especially if you’re looking to upgrade from small homemade batches to larger-scale production.
Through these steps, you’ll be well on your way to turning your apples into cider. The steps might seem daunting initially, but remember, a good cider is always worth the effort.
Fermentation Process
Adding Yeast
The first step in our fermentation process is the addition of yeast. To ensure a flavourful brew, it’s vital to use cider-specific yeast strains. These strains turn the sugars in apple juice into alcohol and carbon dioxide, making our cider. Remember to diversify quantity based on your cider-making equipment size.
Adding Sugar
We add sugar to further ferment the apple juice, elevating the alcohol content in our cider. There’s a sweet science to it. The yeast feeds on this extra sugar, resulting in a stronger cider.
However, we urge caution as too much sugar can extra sweetness and unbalanced taste. Balance is key when adding sugar.
Acidity Levels
Then, we polish the brew by adjusting the acidity levels. Here, acidity plays a significant role in the cider’s character giving that classic sharp taste that leaves us reaching for more. However, like most things in cider-making, the right balance is crucial.
Controlling Temperature
A seemingly intimidating aspect of fermenting, but it’s more straightforward than it seems with the right equipment. To seal the deal on a top-notch cider, controlling the environment plays a part as substantial as the yeast or sugar. The ideal fermenting temperature is between 12-24°C; providing the perfect climate for yeast activity, ensuring a smooth, efficient fermentation process, without overcompensating flavours.
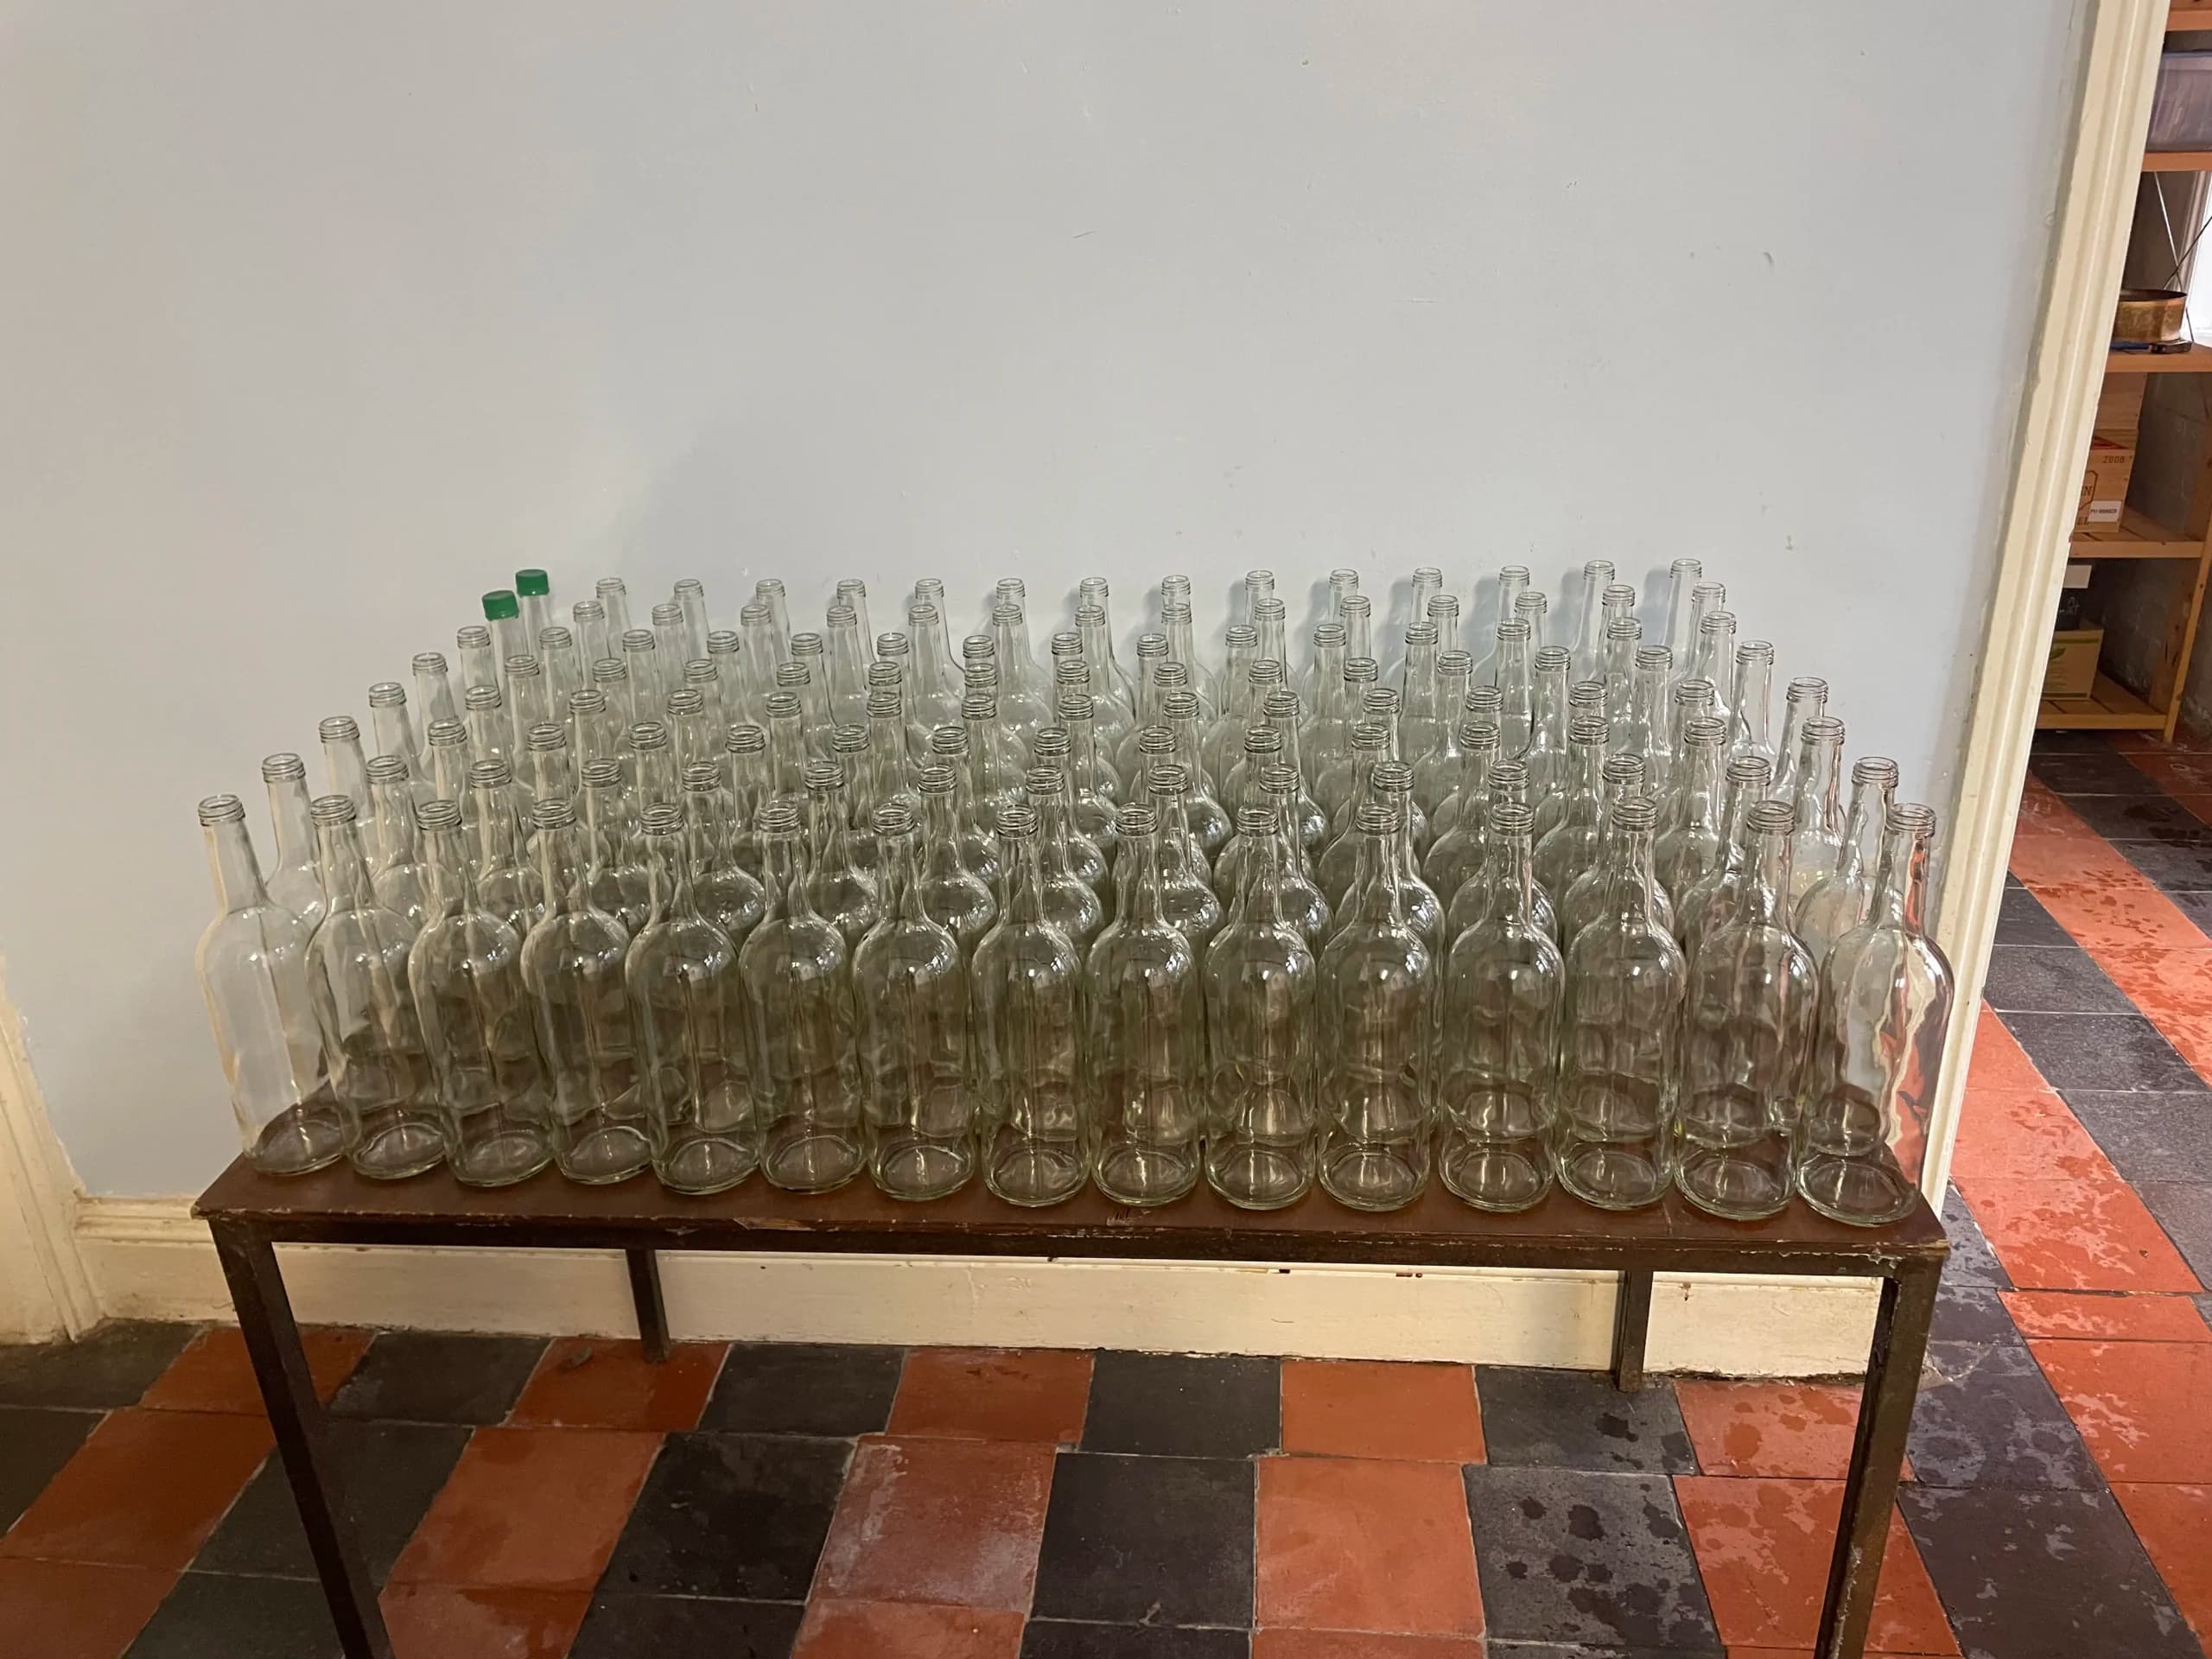
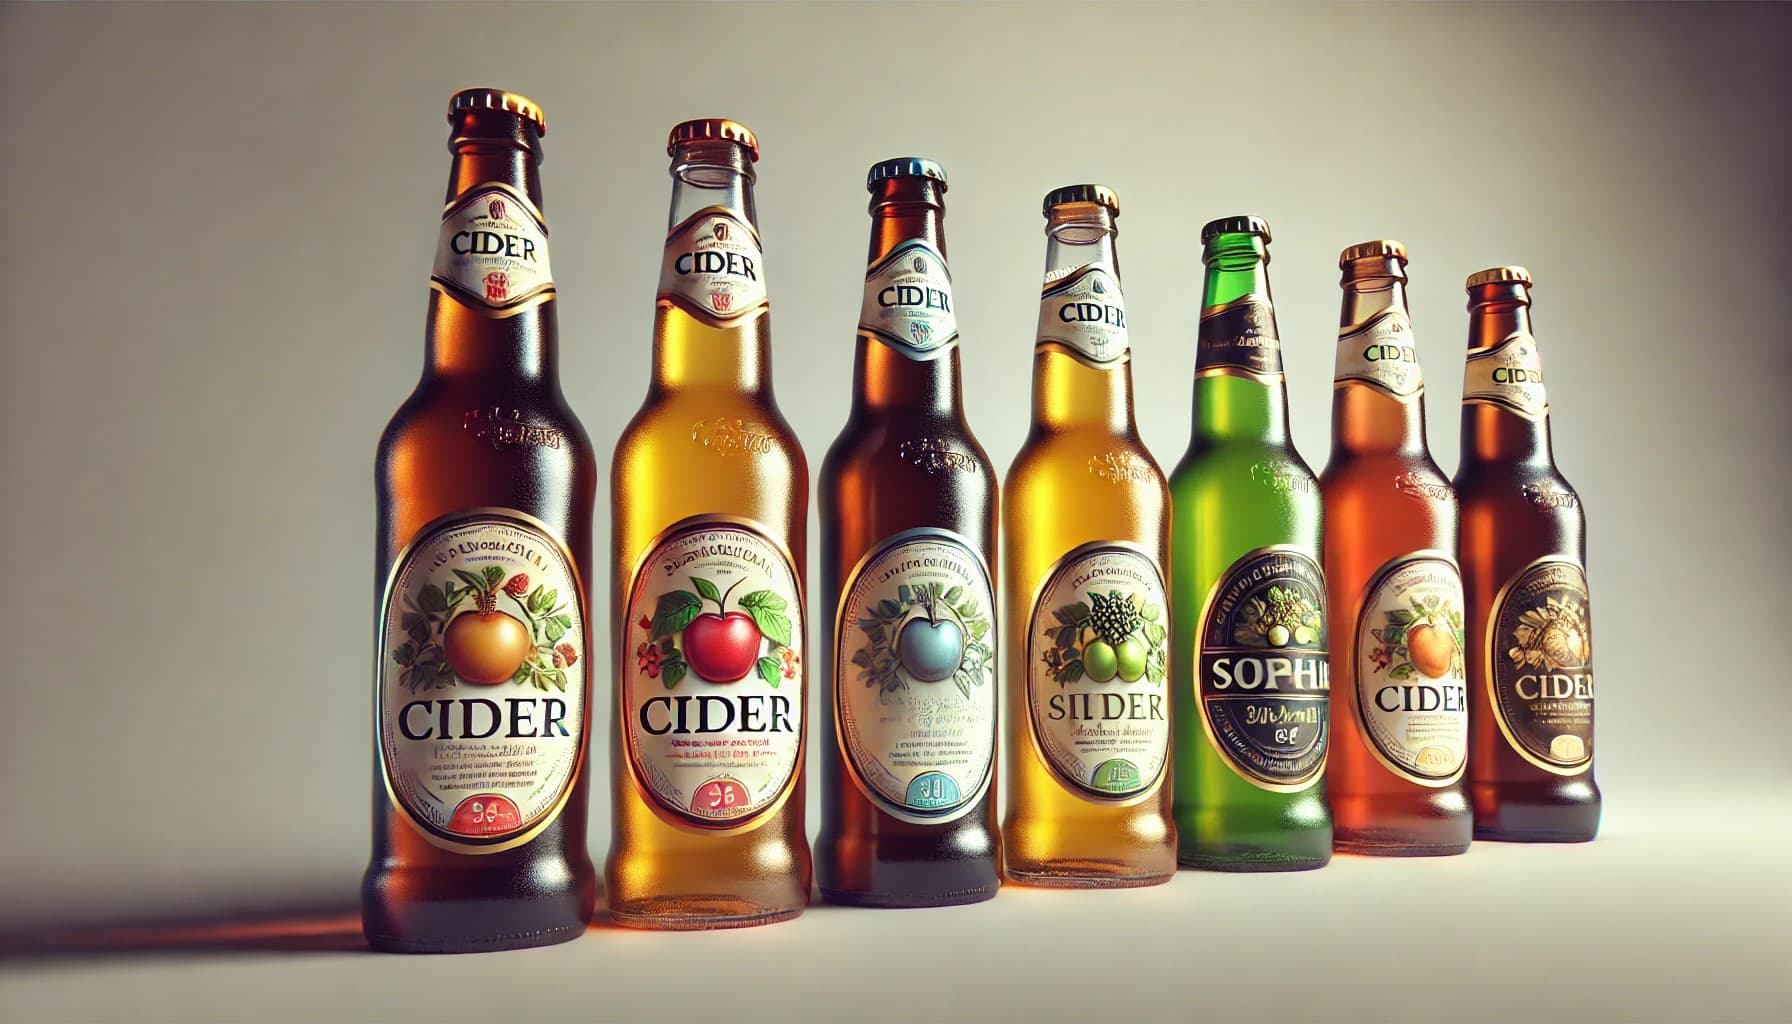
Bottling and Storage
Filtering the Cider
Before we can bottle the cider, we have to ensure it’s as clear as crystal. This is where filtering comes in. Some people think cider tastes best when it’s cloudy, keeping all the natural flavours and parts of the apple. However, most prefer their cider clear, hence the need for filtering.
Filtering is about more than just aesthetics. It’s also about removing any remaining solids from our cider, which could negatively affect the flavour over time. One common way is to let the cider settle with gravity, then remove the clear liquid from the top. We could also use cider making equipment, such as a filtration system, to filter the cider and remove any solids.
Bottling Techniques
Once our cider is impeccably clear, it’s time to fill the bottles. Be cautious when handling a product with alcohol that may still be fermenting. It’s best to use strong glass bottles that can handle pressure.
When filling our bottles, we need to leave some space at the top. This is called the ‘headspace’, and it provides space for any gasses produced by residual fermentation. A good rule of thumb is to leave about an inch of space below the bottle’s cap.
After the cider is safely in its new home, we need to seal the bottles. There are numerous methods suitable for this. The most common involves using a bottle capper, a simple piece of equipment that affixes a metal cap to our bottle, ensuring a tight seal.
Storing
The final step is storage. Storing our cider correctly is critical for developing and preserving its flavour. Ideal storage conditions involve a cool, dark place, where the temperatures stay fairly constant. Typical values range between 10-15°C.
There we go! It’s not that complicated once you get the hang of it. Remember, like any great craft, cider making requires patience, practice, and a bit of passion. Happy brewing to you!
Common Cider Making Problems and Solutions
Troubleshooting Guide
Cider makers, new or experienced, can all face problems with equipment or during the milling and pressing phase.
Stuck Fermentation: This may occur when yeast fails to complete the fermentation process. Adjusting the temperature, aerating or adding fresh yeast can help kick-start the process.
Pectin Haze: When milling and pressing apples, pectin can cause a cloudy appearance in the cider. Use of an enzyme solution like pectinase before press can clarify this issue.
Off-flavours: Sometimes an off or unexpected flavour may surface. This could be due to the type or mix of apples used or possibly contamination. A careful review of the milling and pressing process can usually identify the cause.
Safety Tips for Home Brewers
Cider making at home can be as rewarding as much as it might seem daunting. And ensuring safety during brewing is vital.
Proper Cleaning: All cider making equipment should be thoroughly cleaned to minimise the risk of contamination. Sanitisation products designed for brewing are recommended.
Proper Storage: Always store cider in a secure, cool area, away from sunlight and heat. This not only maintains the quality and flavour of your cider but also reduces the risk of bursting due to building gases.
Sustainable Practices for Eco-friendly Cider Making
As part of our conscious effort to brew cider sustainably, we’re considering ecological factors in our cider-making processes.
Recycling Pomace: After pressing, do not discard the apple remnants. These can be composted and return valuable nutrients to the soil.
Energy Efficiency: Aim to use energy-efficient cider making equipment where possible.
Frequently Asked Questions
What are the common problems in cider-making?
The common problems in the cider-making process include stuck fermentation, pectin haze, and off-flavours. These can often be addressed with appropriate adjustments to the brewing process or careful attention to sanitisation.
How can I prevent stuck fermentation?
Prevent stuck fermentation by using fresh, healthy yeast and ensuring optimal fermentation conditions. Regular monitoring and testing can also help to detect and address any issues.
What are the best practices for cider storage?
To store cider, it’s recommended to use a dark, cool, and consistent environment. Make sure your containers have sealable lids to prevent exposure to air and clean and sanitise them properly before using.
What can cause off-flavours in cider?
Off-flavours in cider are often caused by fermentation issues, unclean equipment, or poor quality apples. Regular cleaning and sanitising of brewing equipment, and using fresh, high-quality ingredients can help prevent off-flavours.
What should I do with left-over pomace?
You can compost or use left-over pomace as a fertilizer. It provides nutrients for plants and improves soil quality, making the cider-making process greener and more sustainable.